As already written, I have to modify the pickguard a bit. OK, so how do the holes in an original Fender pickguard look? … ah. The potentiometer holes would, in theory, have to be widened to 9.525 mm, as Fender thinks imperialistic and uses inch units. 3/8 ” naturally sounds more natural than 9.525 mm, but drills in inch formats are hard to get in Austria; in most areas of normal life, the metric system is the norm here.
So, which matching drills have I got? Hmmm … oh. 8 mm and 10 mm. I can choose between too small and too large, even if “too large” in this case means “just a liiittle bit too large” and presumably would work as well, but I don’t want any clearance of the poteniometer axes in the holes. Not even one of 0.5 mm. As said – perfectionist at work here 🙂
So it’s off to the local hardware store – always a pleasure, unless a thing desparately needed for running the house is defectively looming in the background and demands an immediate! solution to the problem – and I bought a drill set in 0.5 mm increments. And now let’s look again … a 9.5 mm drill just fits through the hole in the Fender pickguard, and eyeballing the drill against the potentiometer yields “Yep, should match perfectly”. So let’s drill!
Since the pickguard is made of a rather soft material and the drill might easily eat into the material and get jammed, tearing a nasty gap where it shouldn’t, I widened the holes by drilling counter-clockwise. It takes comparatively long, as the drill doesn’t remove much material this way, but it’s much safer. This, by the way, is a recommended way to drill holes into lacquered wooden surfaces, as the surface doesn’t crack as easily. Afterwards, I removed the excess with a little scalpel, et voilà:
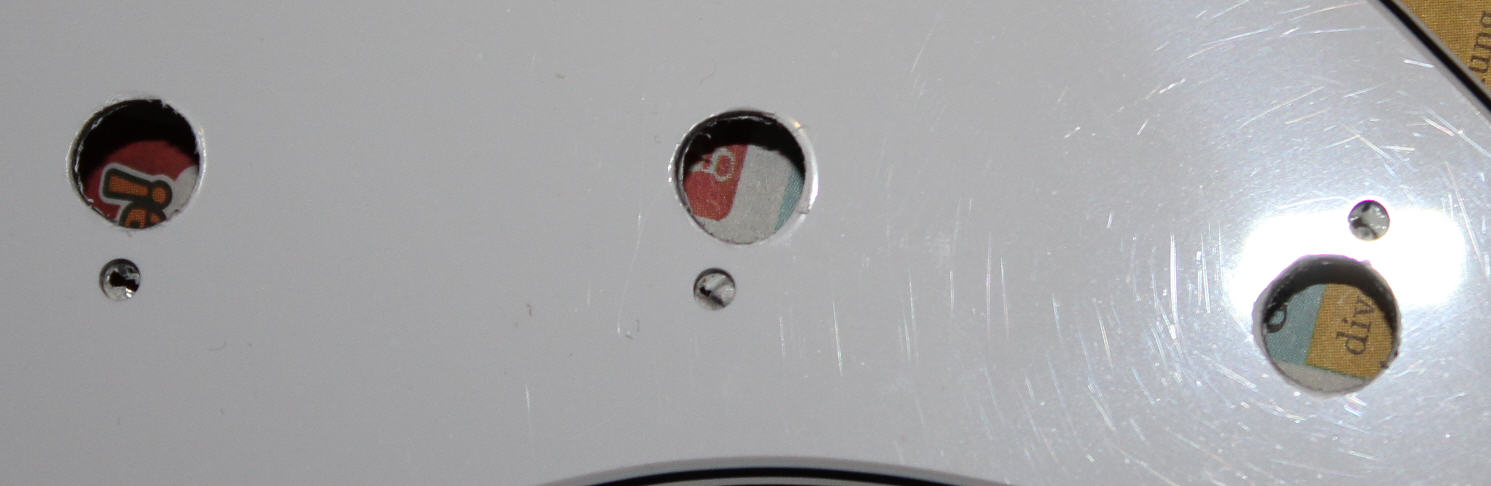
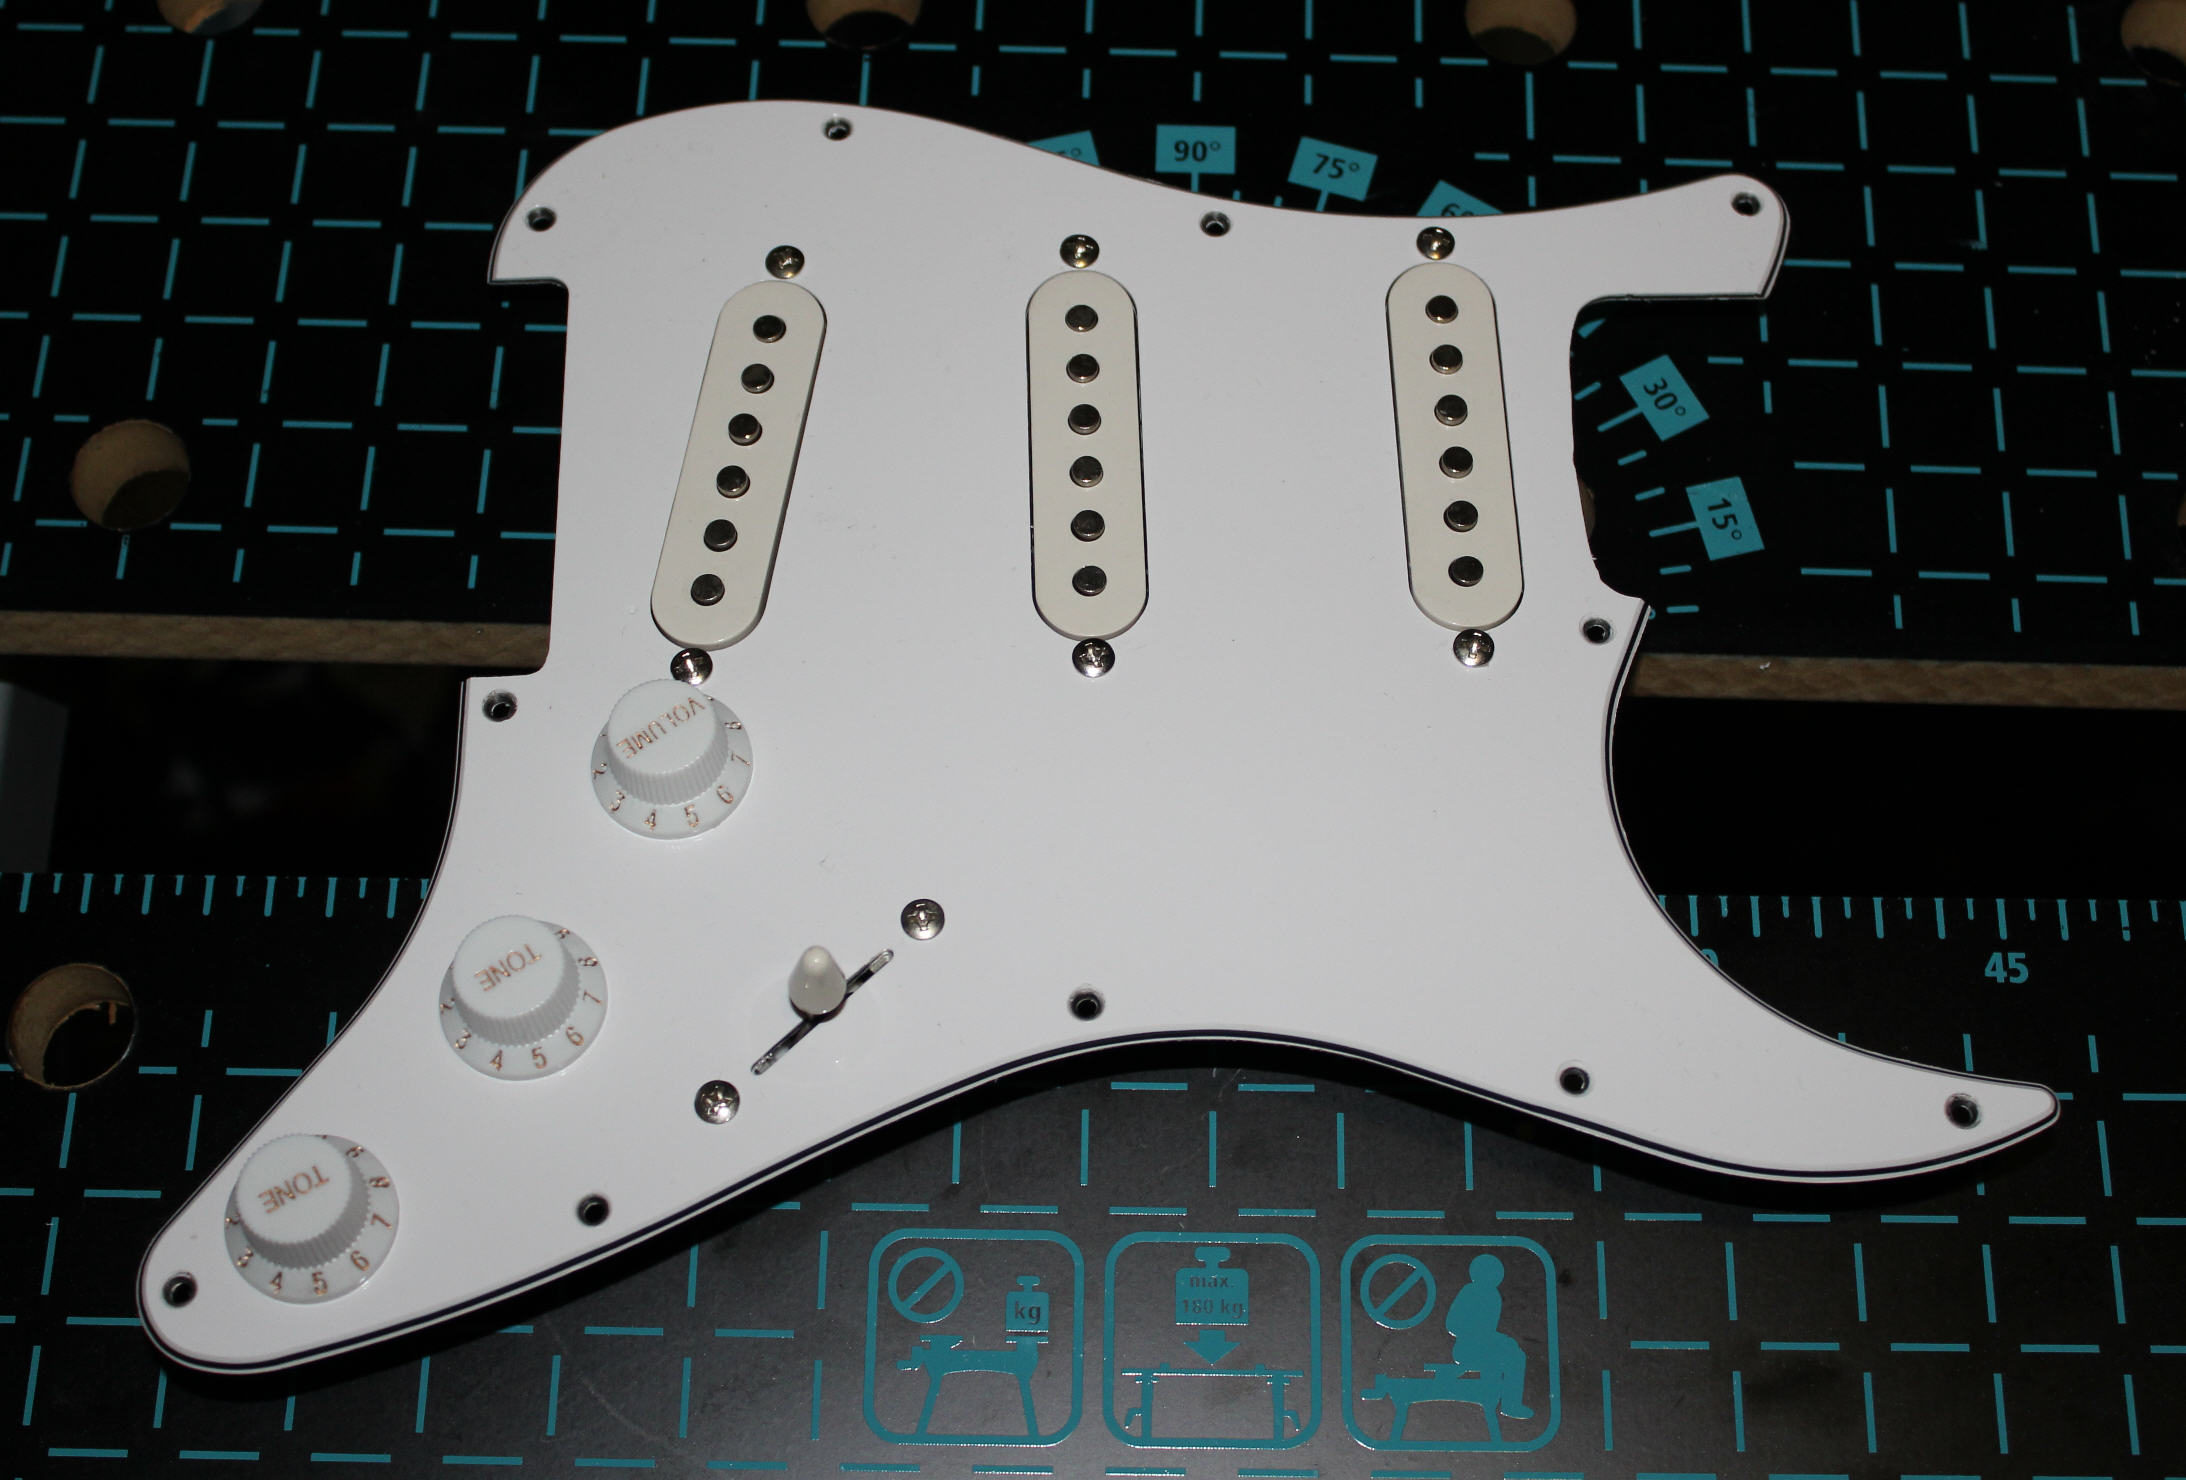
… not absolutely perfect (you’d have to punch it out to get that), but absolutely sufficient. The potentiometers fit without any clearance. So, practically perfect! Hehee! A first assembly looks good:
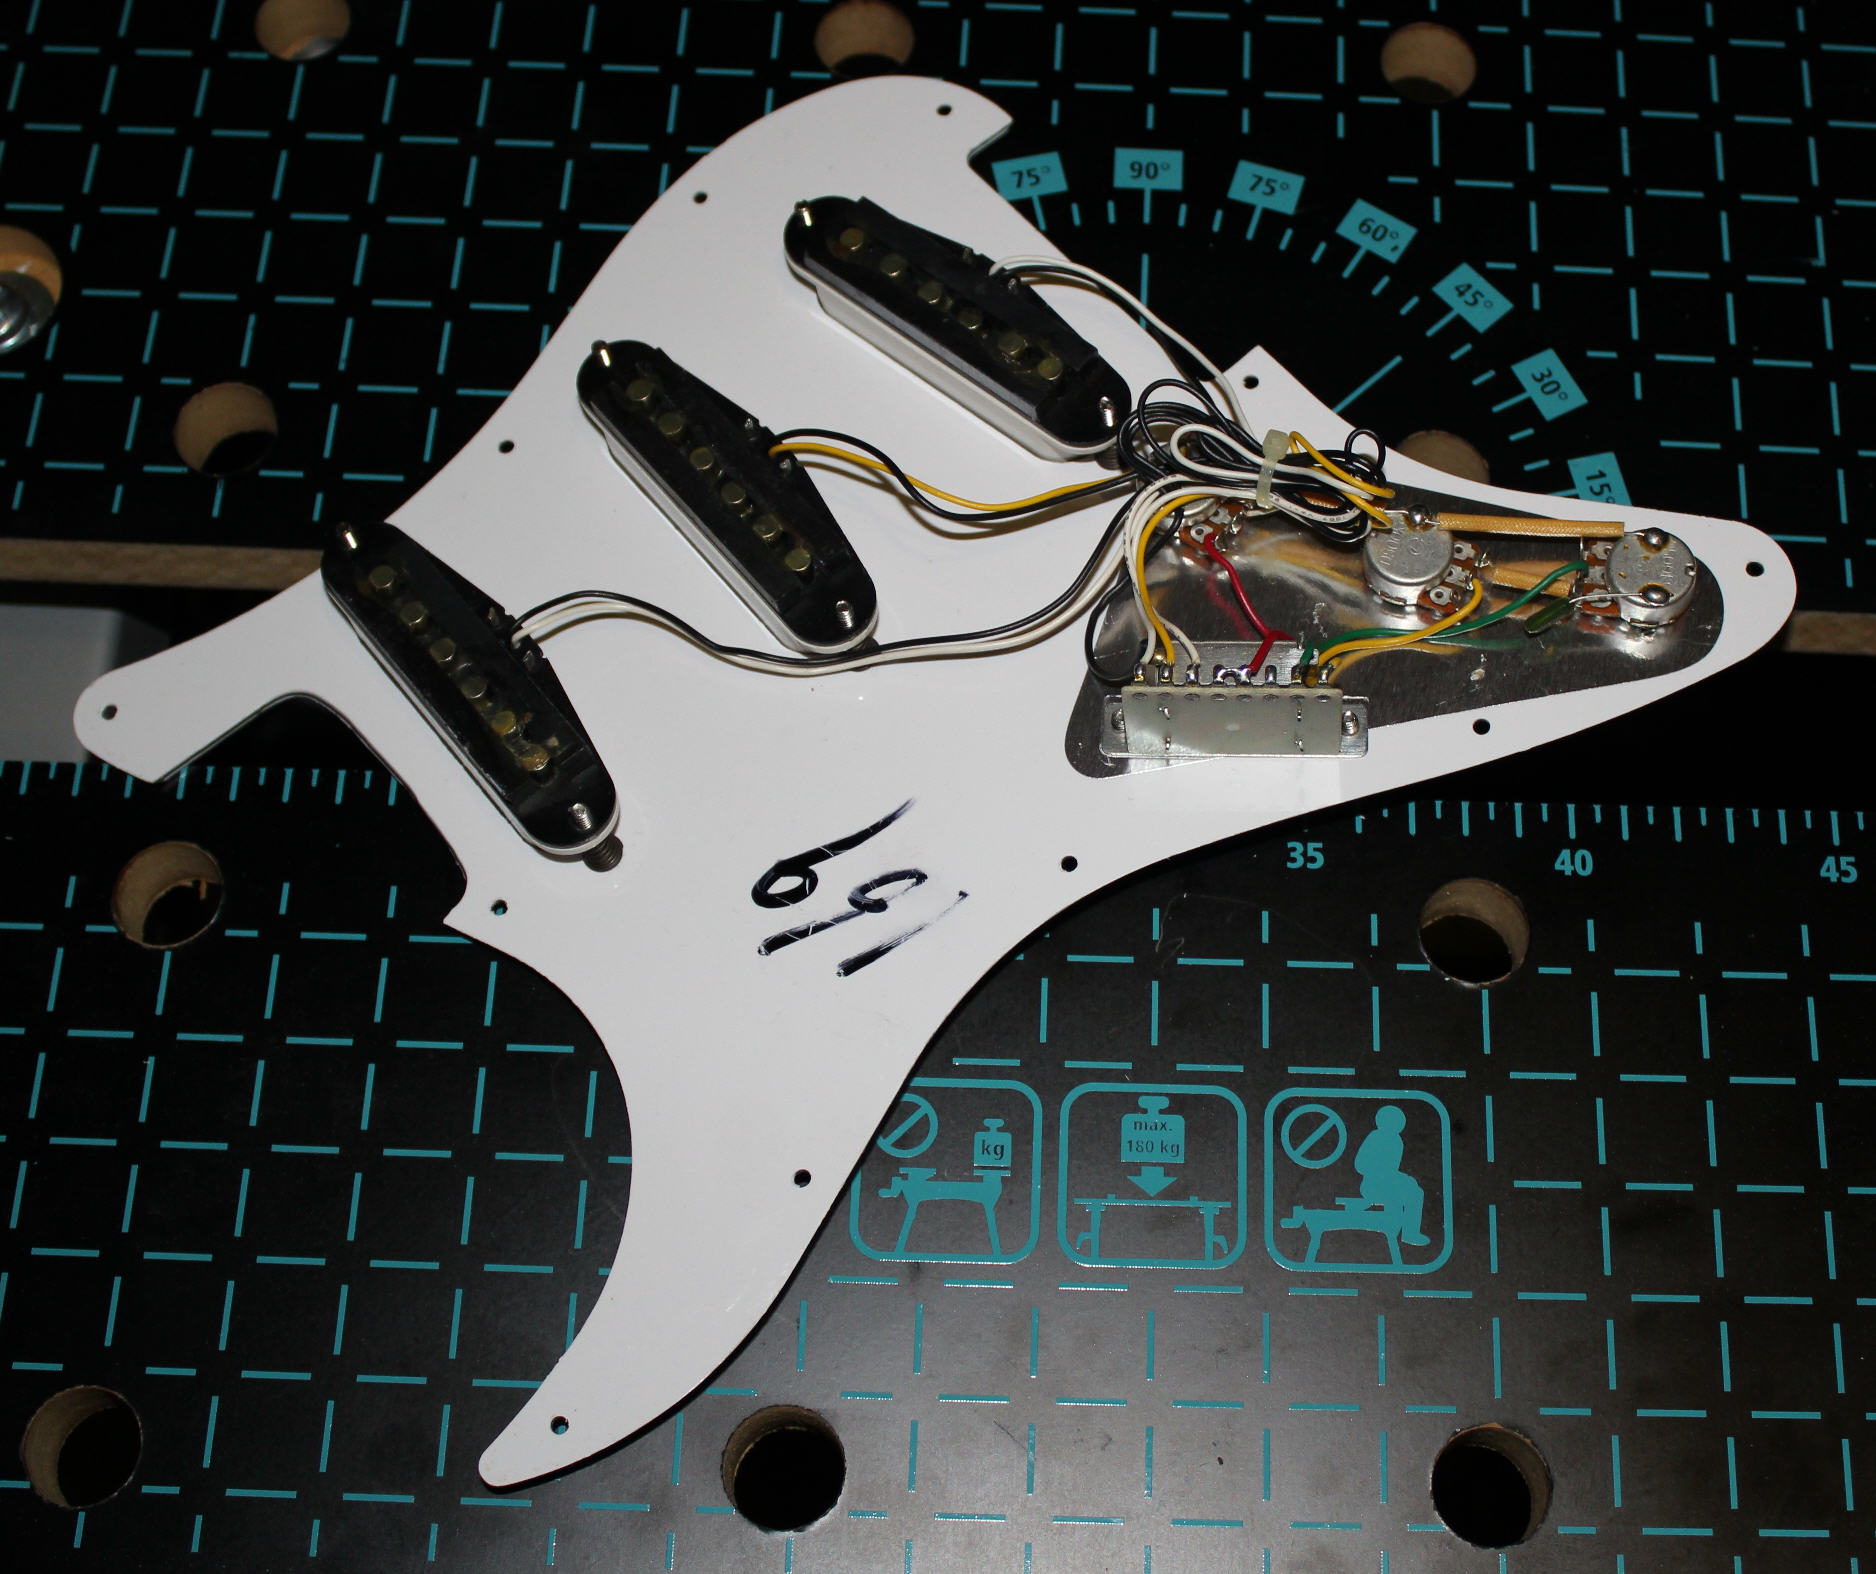
So far, so well. But it doesn’t really fit the body. The switch is a bit thicker than the chinese cheapo model that was in there before and doesn’t completely fit in the cavity in a way that all screws would fit through their holes. So I got to re-route the body a bit <sigh> … but that’s another story.
| Previous: Plan and Reality | Next: Wood Chipping |