The guitar kit came with a fretted neck – but a completely unleveled one. A fret job needs to be done!
Obviously, the frets were only quickly pressed into the fret board; not a single one sat really well, I had to drive them fully in with a fret hammer. Well, that was done in ten minutes. Unfortunately, that’s not enough, it’s just a prerequisite ….
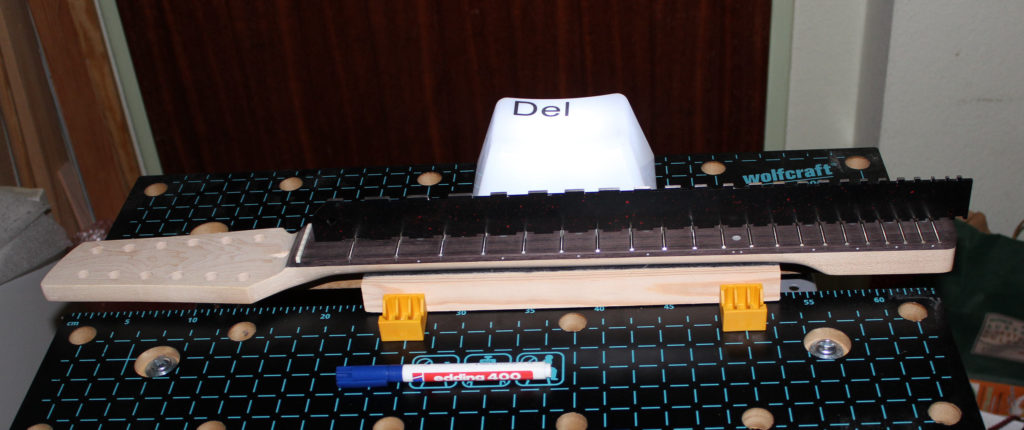
As a first step, the neck needs to be completely flat; otherwise it’s nearly impossible to bring the frets to the same height. So, let’s fetch our shiny new toy, the notched straight edge, and go to work:
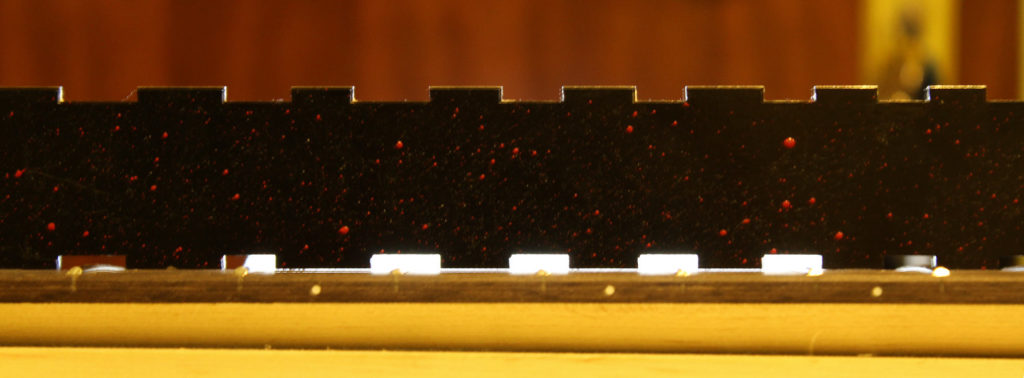
First, place it along the center of the fret board. The problem is – I’m working in a rather narrow environment without great lighting. A programmer doesn’t need a workshop 🙂 … so a little gimmick was used as a light source. I need one, as the straight edge needs to sit on the fret board as exact as possible, and the easiest way to check that is with a light source from behind. Well, and what do I have to see:
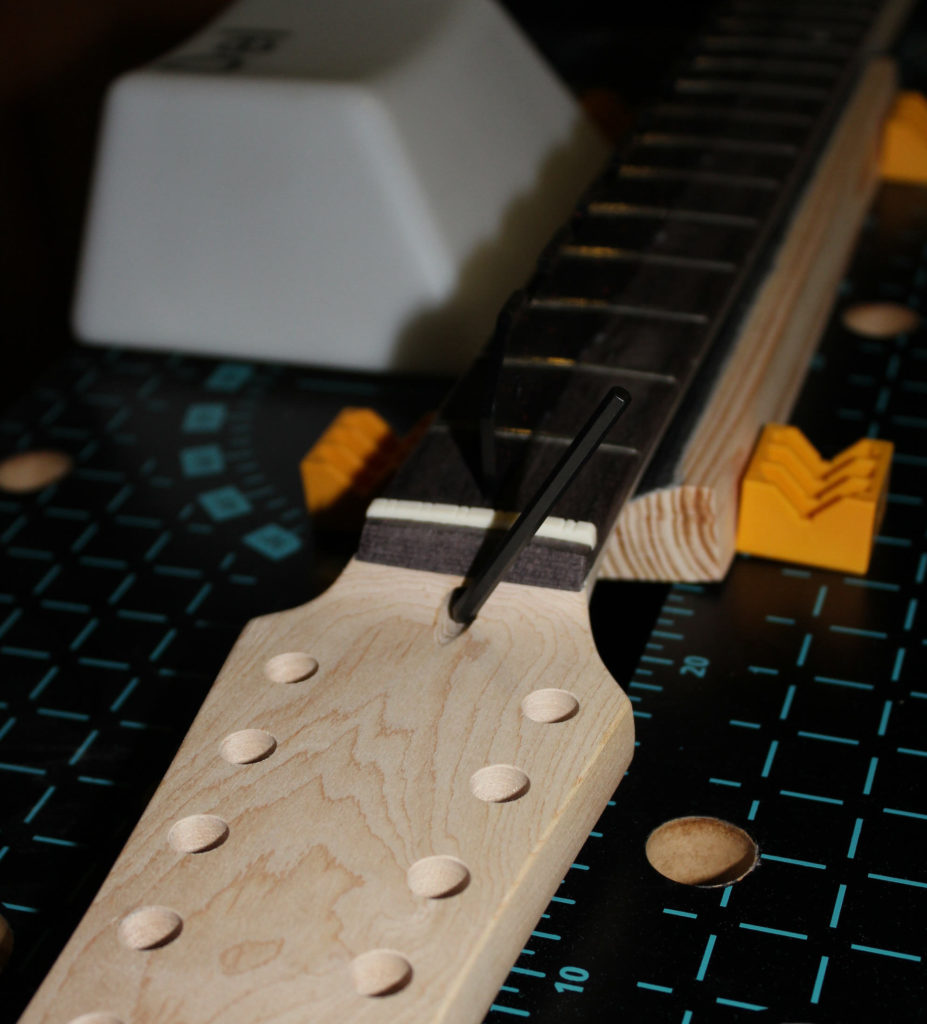
That’s far too much light coming through; the neck is bowed about 0.5 mm and needs to be straightened. Well, there is a truss rod built in for the purpose of varying the neck curve. A tool to adjust it comes with the kit, so it’s no difficulty, just a fiddly job:
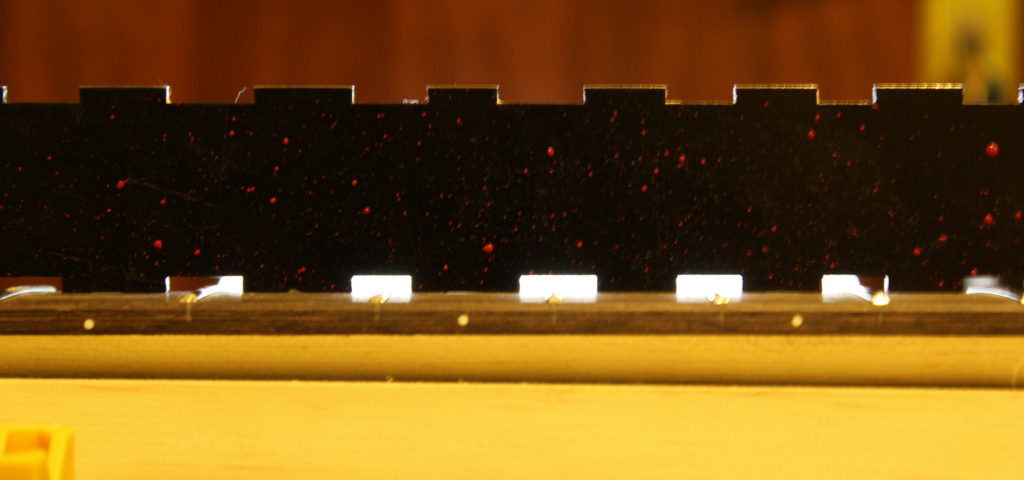
After quite some heavy fiddling it looks like this:
Maybe not absolutely perfect, but the deviation over the whole length is somewhere below a tenth of a millimeter. That’s close enough. Now the neck gets a day’s rest, just in case the wood wants to work a bit.
| Previous: Wood Chipping | Next: Fretwork #2 |


