The neck is straight. The frets are set properly. What now? Level them!
Unfortunately, it isn’t enough to get the neck straight; the frets also need to have the same height to get the best playability. If they haven’t, the strings have to be very high to prevent them from snaring. Well, there are tools for that as well, which I already got, of course 🙂
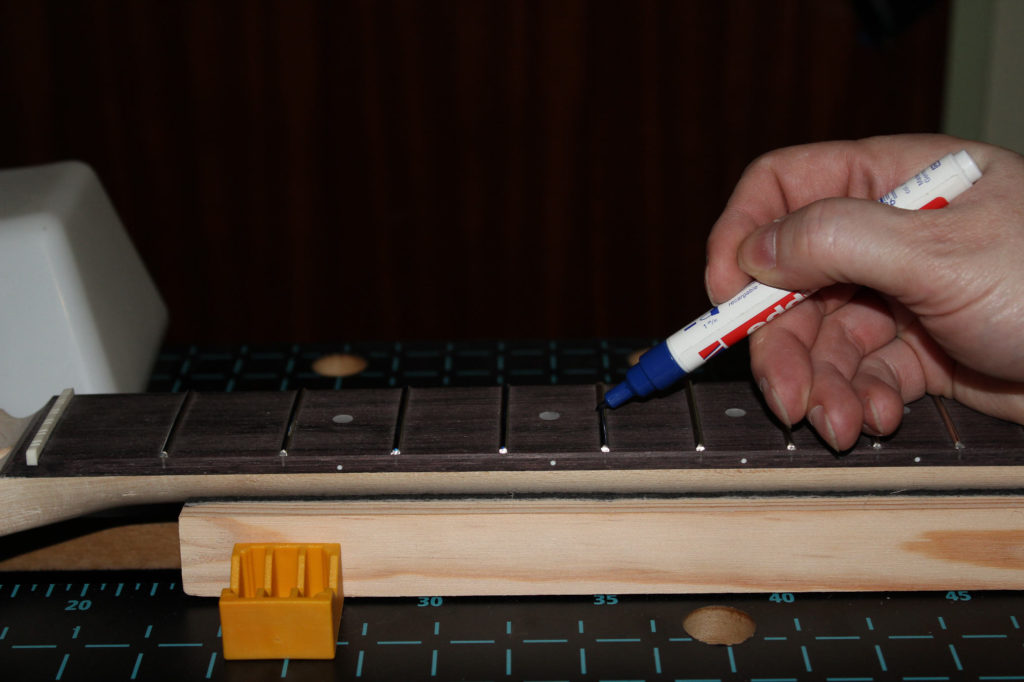
To start with, all fret tops are painted with permanent marker:
Nice and colorful! 🙂 Well, the purpose is to get all frets filed to the same height. After that, the color should be gone from all fret tops; if it isn’t on one fret, then it’s lower than its neighbors and there’s more work to be done.
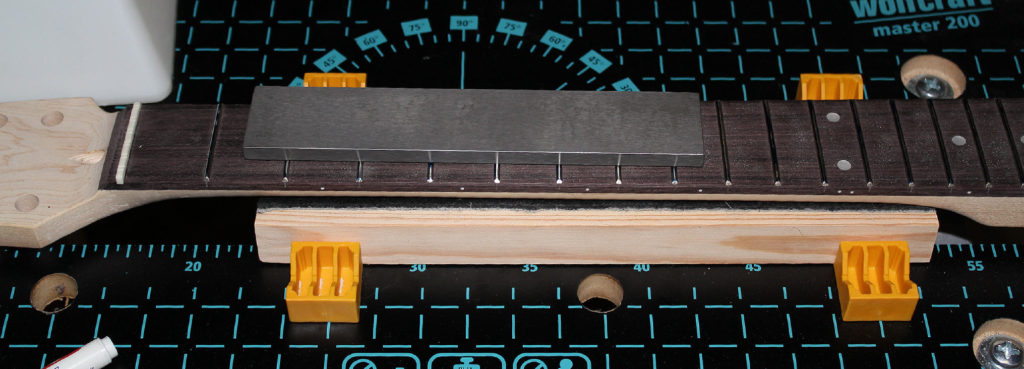
Now the highly expensive leveling file can go to work!
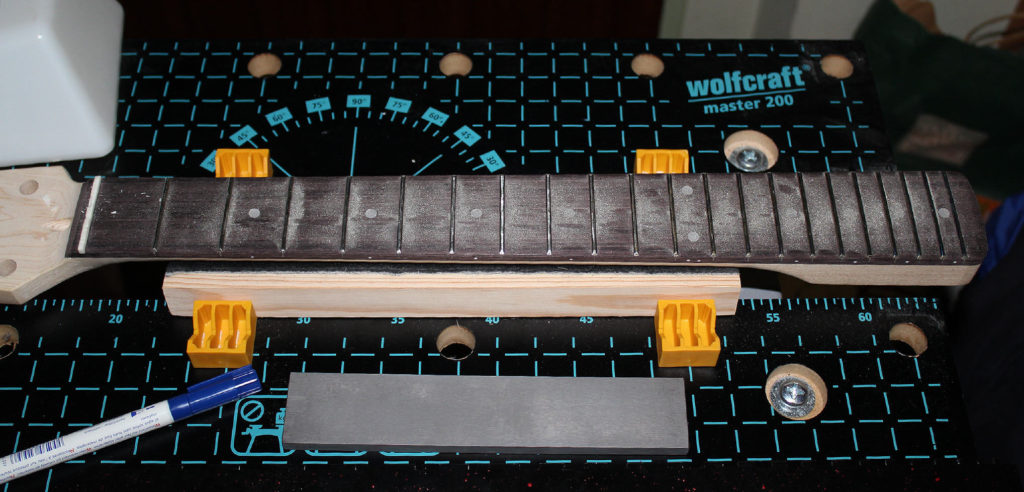
It’s pulled evenly over the fretboard’s length, without exerting pressure, until all frets are the same height. That’s reached surprisingly fast, so it’s a good idea to only do very few strokes at a time. Tool steel against nickel alloy, that’s a very unfair fight 🙂 … OK – done!
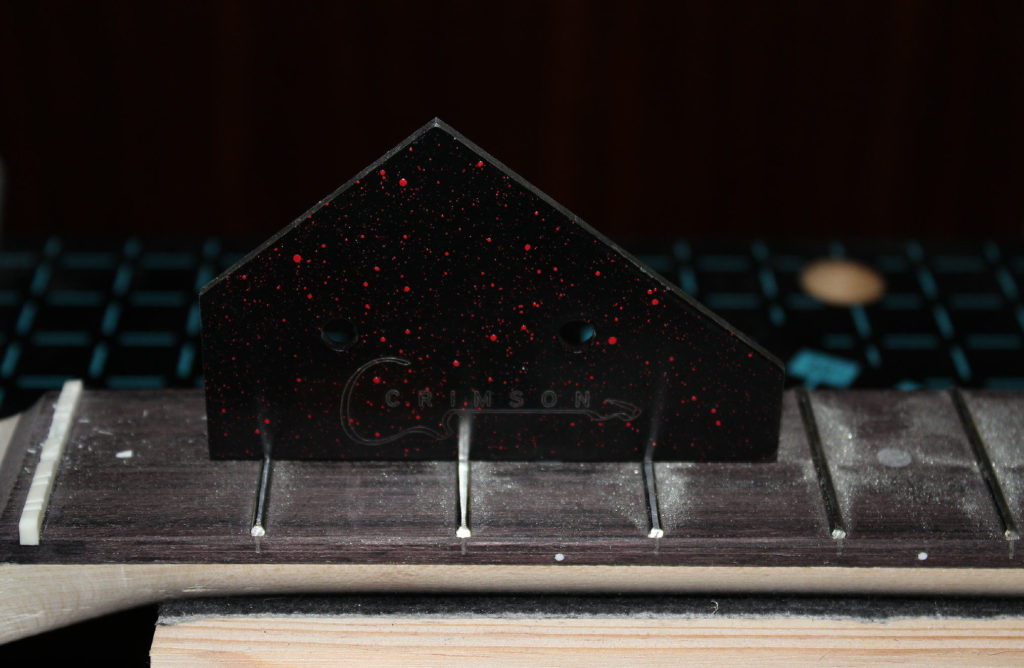
Lots of metal dust, but it looks good. Checking with a fret rocker shows: all is well, no insubordinate fret, all at the same height:
But also the first desaster. Well, I’d have reckoned with problems much earlier.
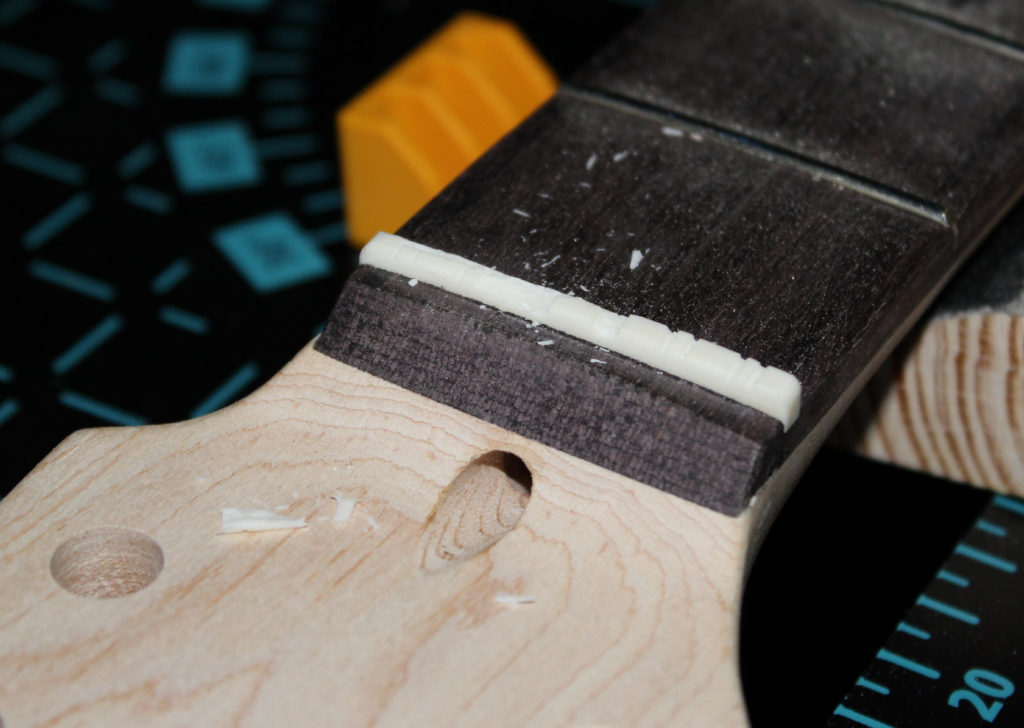
The guitar kit’s neck comes with a pre-cut plastic nut. And I’ve occasionally touched that with the file. Two times, not exactly gentle. This plastic is hard and brittle and doesn’t forgive. So the plasitc went the way all plastic goes in the end:
Oh well. I wanted to replace the nut with a better one at some later date anyway. Now I have to …
| Back: Fretwork #1 | Next: Proportional nut calculations |
